

First off, I know that I promised that the Back to School Series was going to be up every other Wednesday, however I’ve done a lot of scheduling and rescheduling with my posts to accommodate for my current workload and some upcoming campaigns, so stay tuned! With that said, though, I’ve decided to finish the remainder of this series during my Sunday schedule starting with this second installment today. If you missed part one, you can check it here. However, for this post I’ve put together a simple, fresh, and flawless makeup look that looks great on camera. Even if it is past your picture day, you can still use this makeup look for any event where you will be photographed. I also designed this look to have a long lasting stay power, as with picture days, sometimes you won’t get photographed until later on. Ok, let’s get started!

- Starting with the base, I’m going in with primer. Primer really is the key to this whole look, as you will see later on. I used Smashbox Photofinish Primer, which isn’t pictured. However, if you have extremely oily skin and are worried about your foundation melting off, I would suggest layering this over a mattifying primer first. For foundation, I would recommend using one step of coverage up from your normal foundation. For example, if you normally wear a tinted moisturizer, opt for a light foundation and if you wear a sheer coverage, try medium for the day. However, if you really want a flawless face, I would go for full coverage. I personally used my trusty Revlon Colorstay. This is my go to for photography as it is completely matte and has no SPF. When choosing your foundation, I would recommend take these factors into consideration. Pick a foundation with no SPF, as it will reflect light back from the flash because that is what SPF is designed to do for sun’s rays. Whether you want a matte finish is up to your personal preference. If you tend to get oily patches throughout the day, I would recommend using a matte formula, but if you have extremely dry skin you might want something with a bit of dewiness, but not too much that it appears like shiny grease on the face. For concealer, I used Maybelline Fit Me for any stubborn blemishes peeking through the foundation. For under the eyes, I used this sample of the It Cosmetics Bye Bye Under Eye Concealer in a triangle shape under my eye to brighten and highlight the area. It is waterproof and full coverage, ensuring it will last through the day and provide some serious coverage for dark circles.
- To start the eyes, I’m using this sample of the Lorac Behind the Scenes Eye Primer. Take a fluffy shadow brush and a color a shade or two lighter than your skintone. I’m using my Sonia Kashuk Mattes palette and this beige color. Sweep it all over the lid and up to the brow bone to create an even base. I recommend using mostly mattes with this look, but you can use a shimmer or two if you please.
- With a blending brush, take a color one shade darker than your skintone. I’m using this peachy tan shade to start where my finger is on the right. Concentrate it on the lower portion of your crease and work your way up so that it diffuses outward. Go back over it with a color one more shade darker. Decide now if you want to do a warm or cool look and choose a color accordingly. I chose to go the cooler direction and used this taupe color where I’m pointing with my thumb. Concentrate this in the outer corner and layer it over the previous color.
- Curl your lashes and apply mascara. I recommend using waterproof as it hold a curl better. However, I didn’t have any today and just used my usual Urban Decay Supercurl and Maybelline the Rocket. I also recommend layering mascaras, for a nice full effect. I added some Marc Jacobs O!Mega Volumizing Mascara to really pump up my lashes. I also added a coat on my bottom lashes to add some definition to the lower lashline.
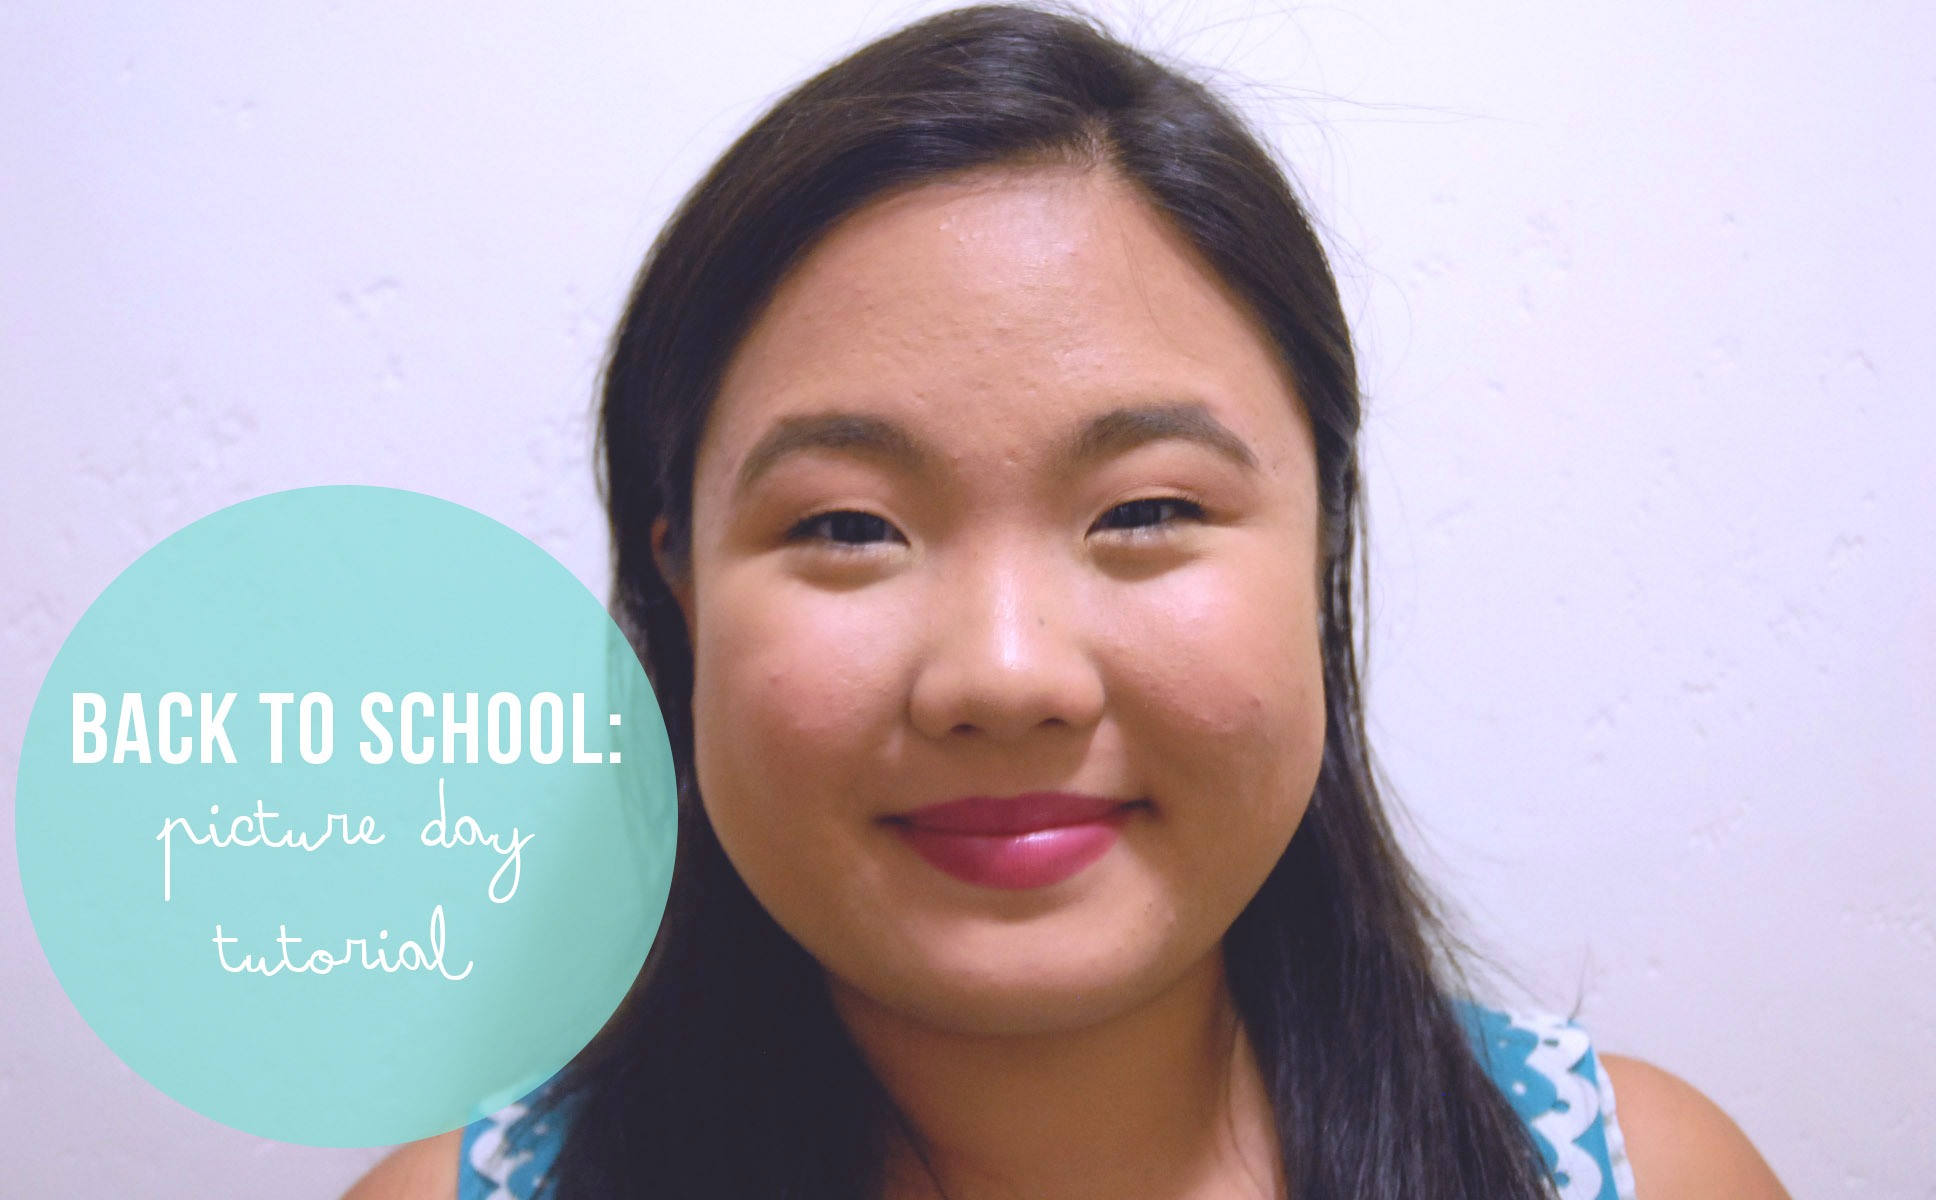
- For eyeliner, I used my Kat Von D Tattoo Liner in Trooper to create a thin line on my upper lash line, just to add some more definition. I also used a bit of nude liner (NYX Wonderpencil) in the lower waterline to open up the eyes more. I typically try to avoid tightlining and pencil liner when I know I am being photographed in case it ends up smudging and giving me panda eyes.

- For brows, I’m going back to my Sonia Kashuk Arch Alert palette, as the tinted wax holds the shape of the brow much better than a pencil. To keep stray hairs in place I’m using some of the clear Anastasia Brow Gel which I hauled in my last post.
- I find that clean brows really frame the face and make a portrait stand out, so I’m taking an extra step to make sure they’re perfect. I used my Maybelline Dream Lumi Touch concealer to clean up around the edges of my brow. Then, I’m highlighting under the arch with this Maybelline Color Tattoo in Barely Branded with a small detail brush. I also took some of that highlight and put it in the inner corner of my eyes. To set the cream in place, use your highlighter or shimmery shadow of choice to go over it.
- In the debate of contouring versus bronzer for photos, I almost always opt for contour. it creates such a nice dimension to the face and makes sure you don’t appear too flat on camera. I’m using my Anastasia Contour Kit in Light Medium and a flat contour brush to carve out the hollows of the cheeks and thin out the forehead perimeter. I then took some of the light matte shade on a face brush and placed it under the contour to clean up any edges and make the contour more prominent. I also used that same face brush to use the Banana shade under the eyes.
- For blush, I’m opting to use a cheek tint that will last longer. I dabbed a bit of Benetint onto the apples of my cheeks and blended it out with a stippling brush. For highlight, I wanted to only concentrate it on the tops of my cheekbones and I used Champagne Pop… what’s new?
- To stick with the stain product theme, I used the L’Oreal Colour Riche Designer Extraordinaire Lipstick from the Limited Edition Lilly Pulitzer collection to add a bit of staying color to the lips. To finish things off, I powdered my face and topped it off with the L’Oreal Infalliable Setting Spray to lock things into place.


Alrighty, that wraps it up for this week! I hope you foudn this post helpful for any of your Picture Day or photography needs, makeup wise. Be sure to leave me a comment below or on social media using the following links. I’ll catch you later!
All my love,
Megan
—
Instagram || Twitter || Google+ || Pinterest || Bloglovin’

I love love love this look on you! The lip color suits you so well!!!
LikeLiked by 1 person
Thanks so much!! I’m totally flattered 😊 The formula of the lip colors is great as well & they have great color selection- something for everyone. I would totally recommend!
LikeLiked by 1 person