


Hey there, all! It’s just about mid-February and you know what’s coming up… Valentine’s day! Whether you’re spending time with your special someone or having girls night out with the gals, I put together a quick, little retro inspired look to sweeten up your very own Valentine’s day. So without further ado, let’s get started!

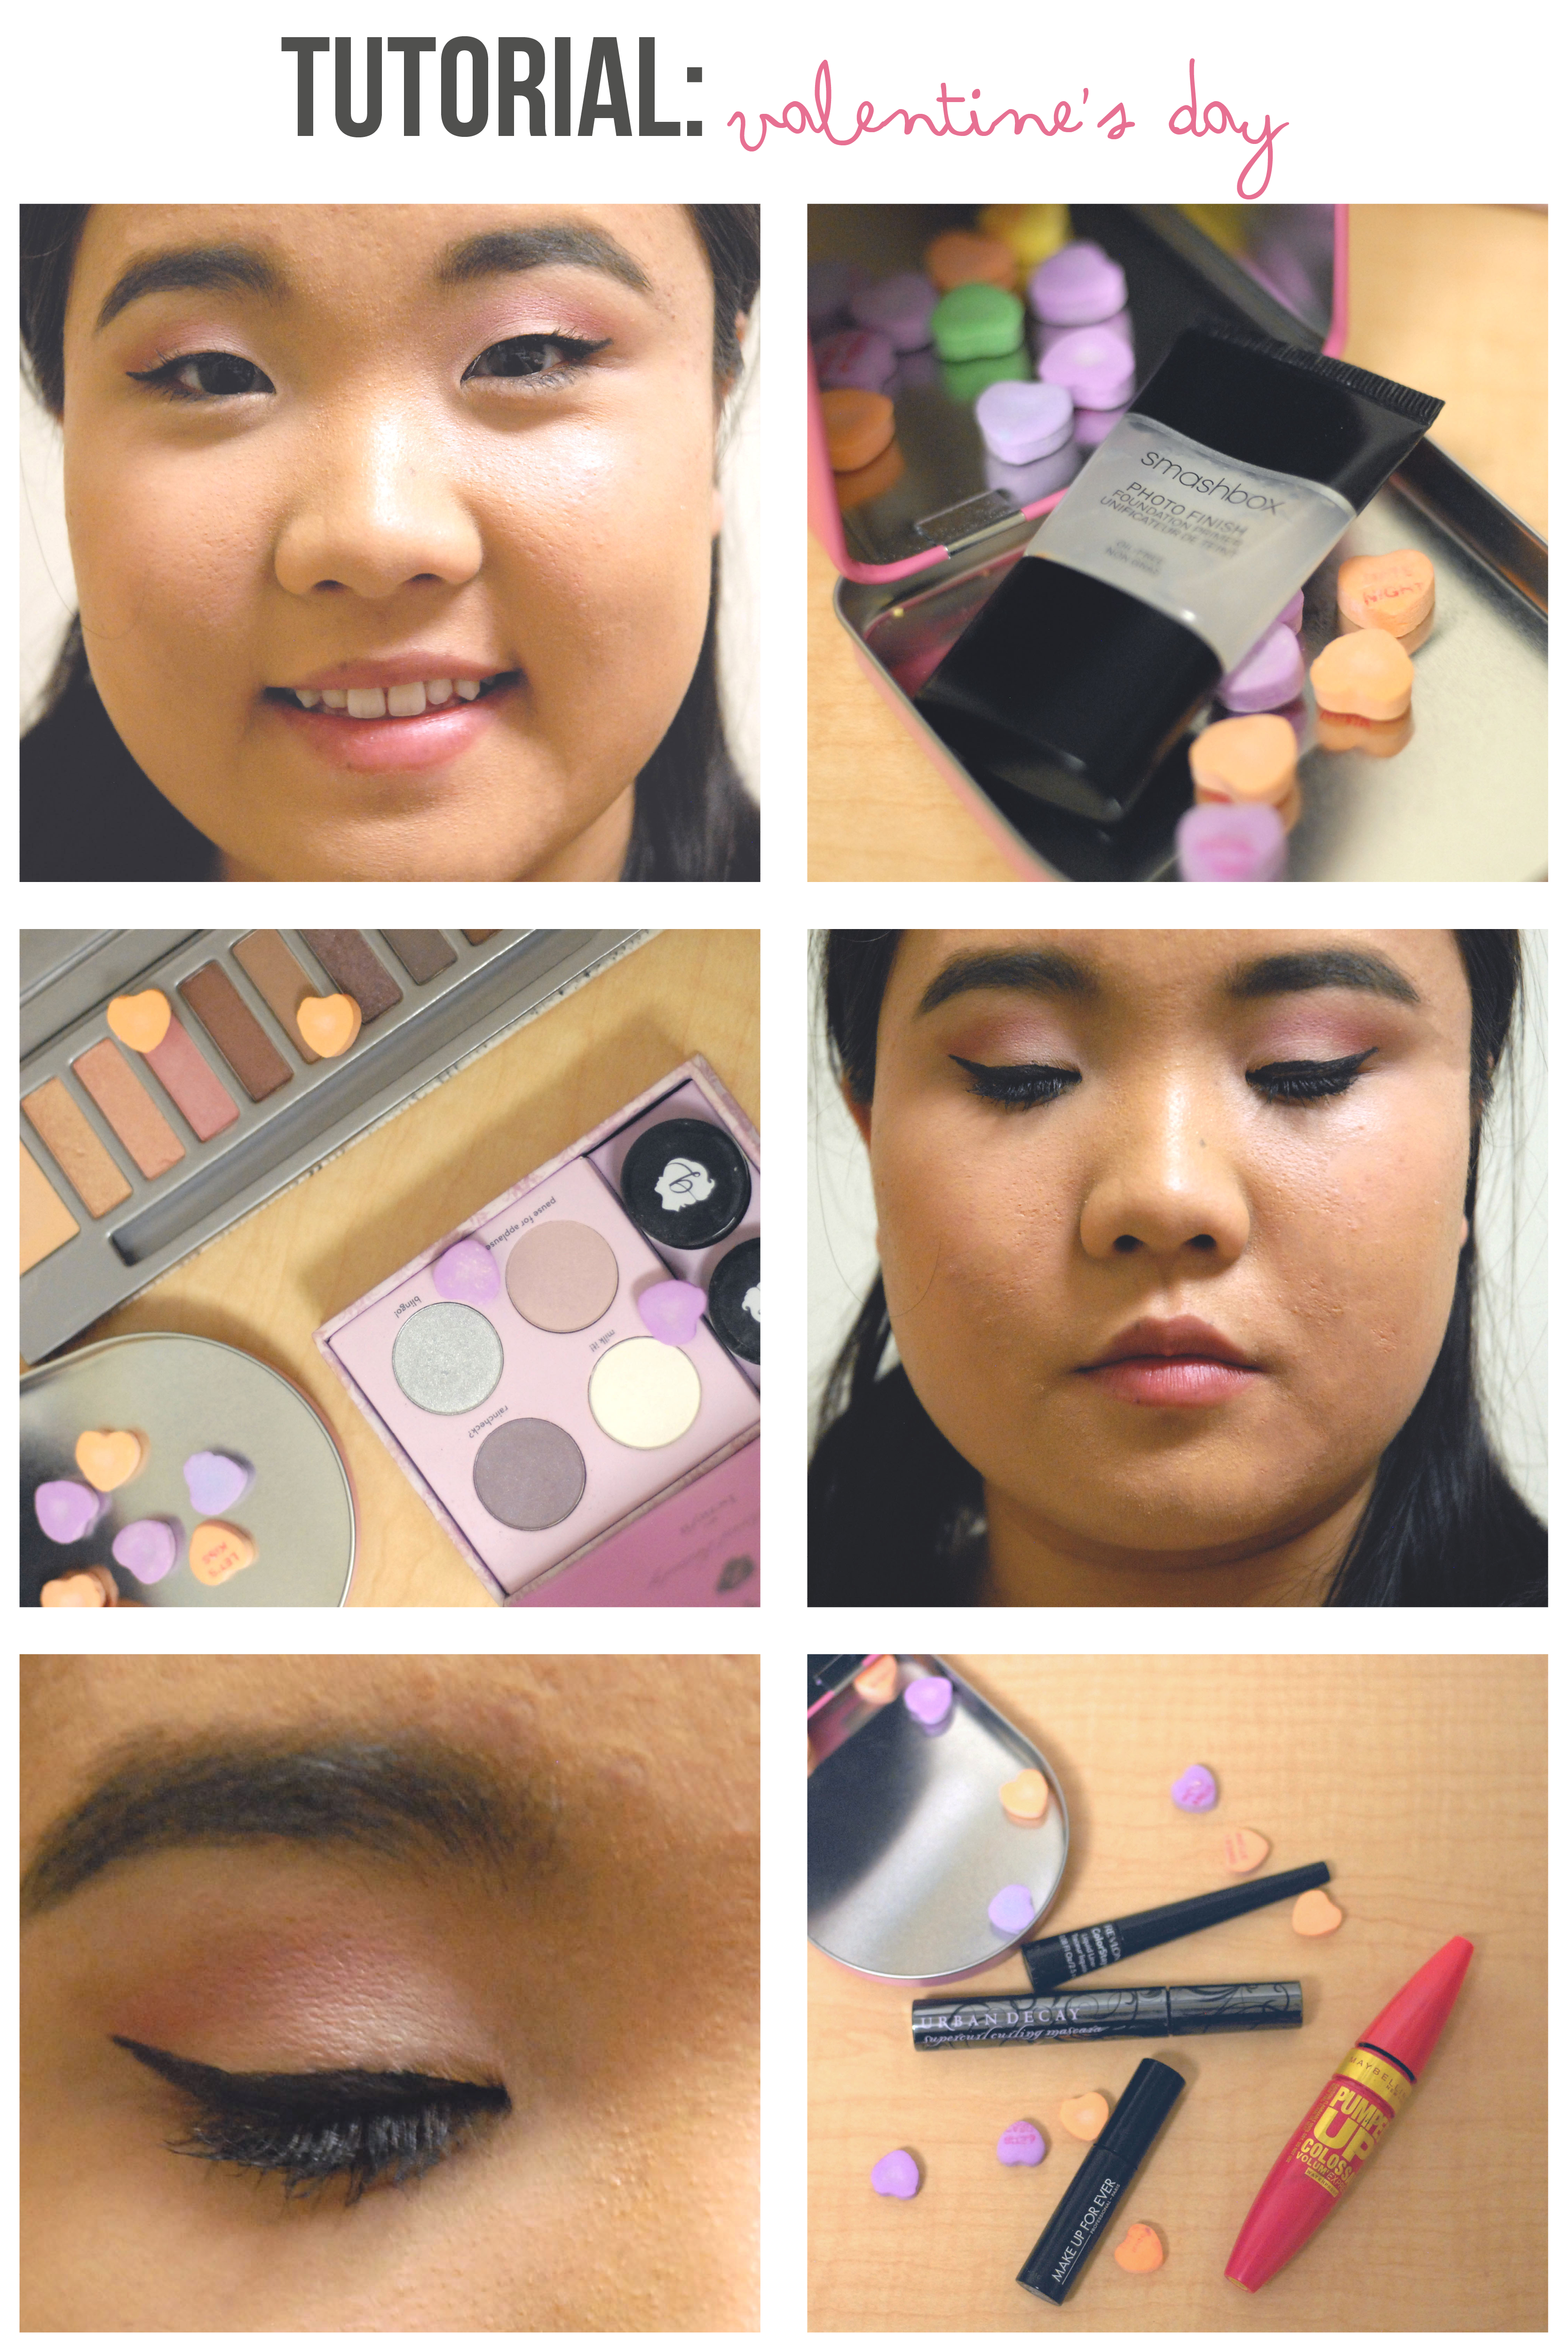
- I wanted to create a super flawless face for this look as a nice canvas to start. For this I used my Smashbox Photo Finish primer to create a poreless and smooth base before applying my usual foundation with some luminizer mixed in.
- For eyeshadow, I wanted something simple to highlight the heavy eyeliner to come. I used both my Mally Citychick Celebration and Benefit World’s Sexiest Nudes- Sexiest Nudes Ever palette, and of course eyeshadow primer!
- Lid- Milk It!, Benefit
- Crease- Runway Diva, Mally
- To blend out crease and lid- Pause for Applause, Benefit
- To blend out crease and brow bone- Ooh La Latte, Mally
- As I said before, the main event is this heavy winged liquid liner inspired by the 1960s. I used my Revlon Colorstay to create a long, extended flick that hit the edges of my natural brow before I filled them in. I sculpted out an Elizabeth Taylor-esque groomed brow with an angled brush mixed with a combination of a bit of my Urban Decay 24/7 pencil in Perversion and some Sonia Kashuk Brow palette in the darkest shade. I wanted a full, fluttery lash to add to the romantic look and allude to Twiggy without overwhelming the eyeliner with a false lash. I layered a few mascaras, using a heavy-hand on both the top and bottom lash line to create this effect, including Urban Decay Supercurl, Maybelline Pumped Up, and a sample of Makeup Forever Smokey Lash.
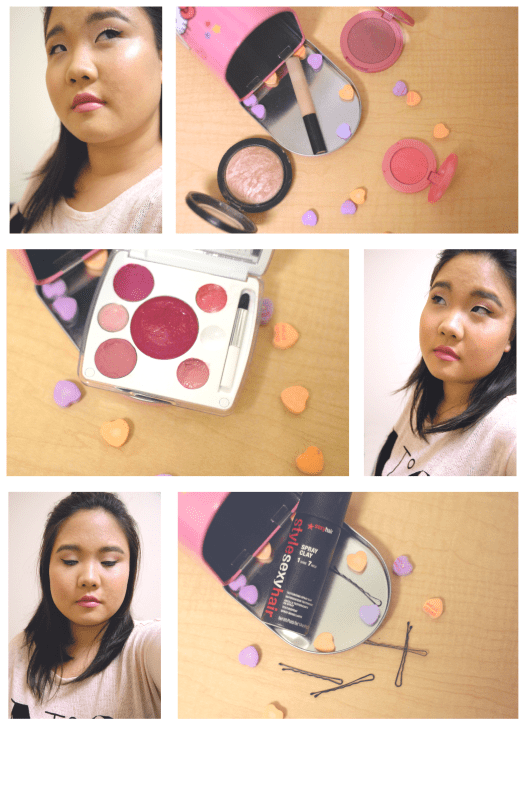 For cheeks, I wanted a glowy and dewy radiance to complement the flawless complexion and didn’t want too heavy of a contour. I started with a light contour shade to add the tiniest amount of dimension under the cheekbones and around the temples and hairline. I went back over the cheek contour with a touch of darker blush (Blushing Bride by Tarte) to add a transition from the contour to blush. For actual blush I wanted a pinky pinched tint so I applied Tarte’s limited edition Thankful to the apples of the cheeks, although any blushy pink will do. Next, I took a heavy hand to my MAC Soft and Gentle highlighter to the high points of my cheeks.
- For lips I wanted a pastel, creamy pink with nude undertones to be indicative of that mod, retro vibe. I used the Em Cosmetics Pinks Shade Play lip palette to custom mix the bottom two shades.
- Finally, for the hair I teased up a subtle, piecey pouf to add the slightest amount of volume to the crown. First, I sectioned off the hair above my temples from the front to the back around the head, then into three smaller sections parallel to the hairline- a middle and two-side sections. I used Style Sexy Hair’s Spray Clay to add some texture to my freshly washed hair at the backside of the roots, teased lightly with a fine toothed comb, and secured with a few bobby pins. Finally, I cleaned up the ends of the remaining hair that was left down with a flat iron.

Vioà! That’s it! I hope you enjoyed this week’s post and if you try out this look for yourself be sure to tag me using my social media links below!

 All my love,
Megan
—
Connect with me!
Instagram || Twitter || Google+ || Pinterest || Bloglovin’
